Ruler Config: Centralize Your AI Coding Assistant Instructions

This tutorial will guide you through the essentials of installing, configuring, and using Ruler to streamline your AI-assisted development workflow.
Prerequisites
Before you begin, ensure you have Node.js (version 18.x or higher) installed on your system.
Installation
For command-line use, it is recommended to install Ruler globally via npm. Open your terminal and run the following command:
npm install -g @intellectronica/ruler
Getting Started: Initializing Your Project
Once Ruler is installed, navigate to the root directory of your project in the terminal and run the init command:
ruler init
This command sets up the necessary structure for Ruler within your project by creating a .ruler/ directory. Here’s what’s inside:
ruler.toml: The main configuration file. You use this to specify which AI agents you want Ruler to manage.AGENTS.md: The primary starter Markdown file for your rules. This file follows an emerging open standard for a unified AI instruction file.
Core Concepts
The .ruler/ Directory
This directory is the heart of Ruler. It acts as a central repository for all your AI instructions.
- Rule Files (
.md): Ruler recursively discovers all Markdown (.md) files within the.ruler/directory. It concatenates their content in alphabetical order to form a single set of instructions. For better organization, you can split your rules into multiple files, such ascoding_style.md,api_guidelines.md, andproject_overview.md. ruler.toml: This TOML file is where you configure Ruler's behavior. You can enable or disable specific agents and customize their output paths.
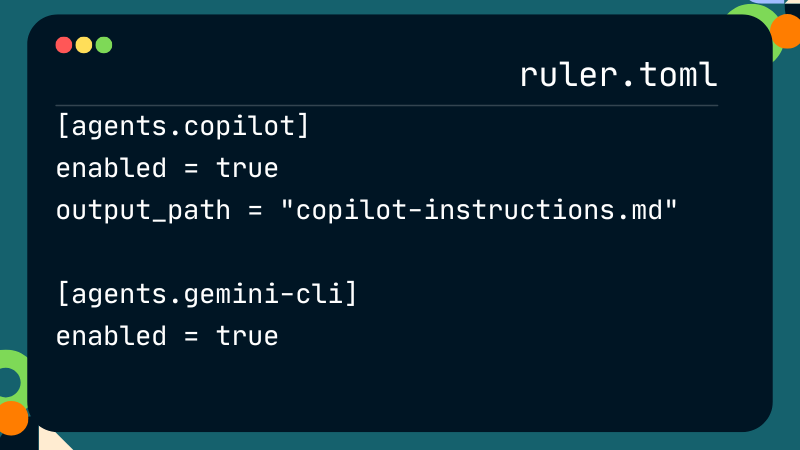
The ruler.toml Configuration
The ruler.toml file allows you to specify which AI assistants Ruler should manage. By default, several common agents are included but are commented out.
To activate an agent, uncomment its section. For example, to enable Ruler for GitHub Copilot and Gemini Cli, your configuration would look like this, where aider still kept commented out:
[agents.copilot]
enabled = true
output_path = ".github/copilot-instructions.md"

# [agents.aider]
# enabled = true
# output_path_instructions = "AGENTS.md"
# output_path_config = ".aider.conf.yml"

[agents.gemini-cli]
enabled = true
Managing and Applying Rules
Adding Instructions
To add instructions, simply open the default .ruler/AGENTS.md file, or create a new .md file inside the .ruler/ directory, and write your guidelines using standard Markdown.
For instance, you could create a file named .ruler/style_guide.md with the following content:
# General Style Guide

- Follow PEP 8 for all Python code.
- Use type hints for all function signatures.
- Keep functions short and focused on a single task.
- All API endpoints must be documented using OpenAPI specs.
Applying Rules
After you've defined your instructions, use the apply command to distribute them to the configuration files of your enabled AI agents:
ruler apply
Ruler will read all .md files in the .ruler/ directory, combine them, and write the content to the output_path specified for each enabled agent in ruler.toml.
For traceability, Ruler prepends each file's content with a source marker:
--- Source: ---
You can also perform a "dry run" to see what changes will be made without actually modifying any files:
ruler apply --dry-run
Reverting Changes
If you want to remove the configurations applied by Ruler, you can use the revert command. This will safely undo all changes made by the apply command.
ruler revert
This is useful when you want to start fresh or temporarily disable the rules. Like apply, the revert command also supports a --dry-run flag.
Conclusion
Ruler simplifies the management of AI coding assistant instructions by providing a centralized and version-controlled system. By adopting Ruler, you can ensure consistency across your development team, reduce configuration overhead, and onboard new AI tools more efficiently. This allows you to spend less time managing configurations and more time writing great code.